Dr Clem's Ginger Beer
A brewed delight

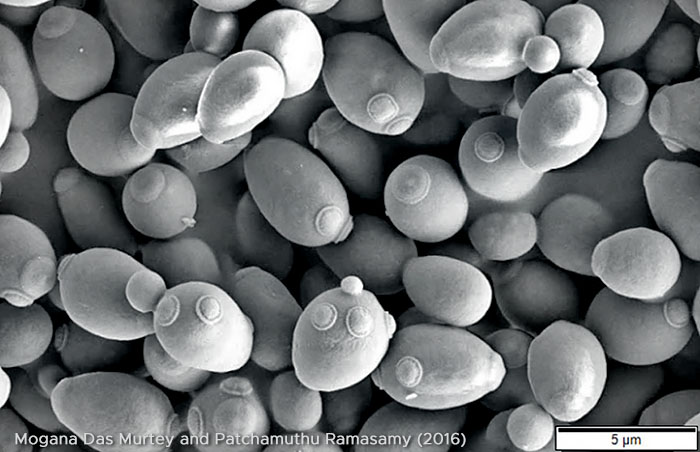
The yeast Saccharomyces cerevesiae is a very important agent in the world of food and beverages. Its abilities have been exploited in the production of foods since ancient times before microbiology was known. Louis Pasteur was the first to demonstrate in the mid 19th century, the biological action of yeasts on sugars in the absence of air (fermentation).


Scanning Electron Micrograph of Saccharomyces cerevesiae, the yeast which brews

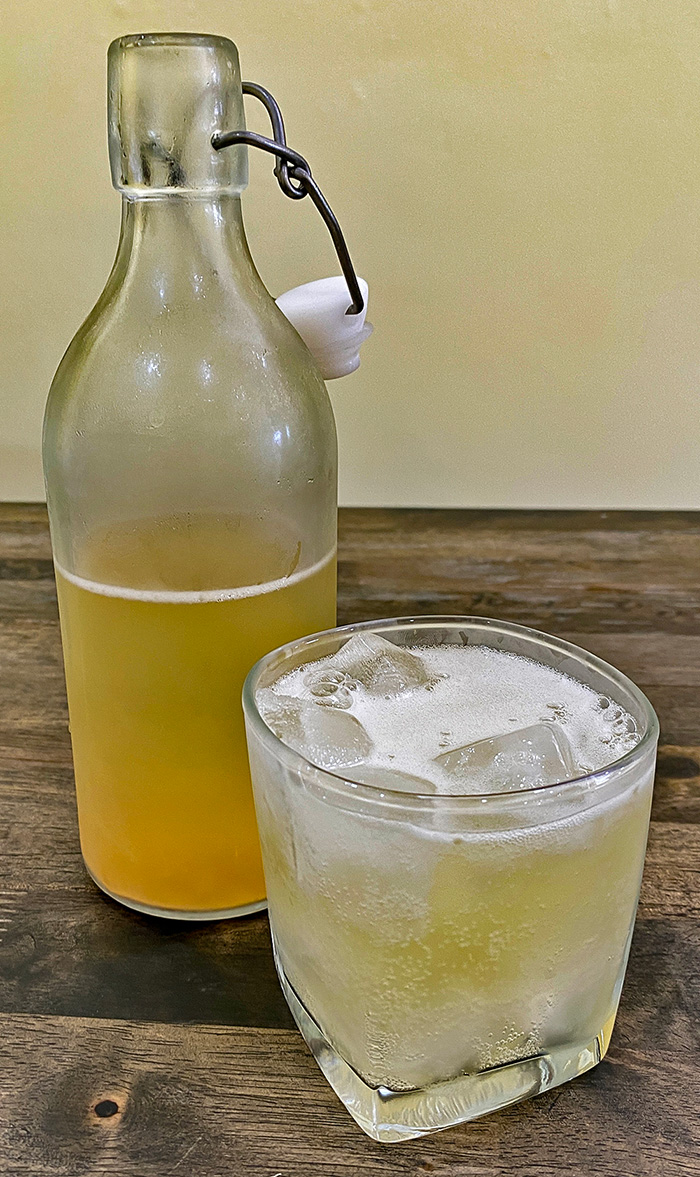
In baking, it is a leavening agent where it metabolizes fermentable sugars in the dough or cake mix, to produce carbon dioxide gas. This gas forms pockets /bubbles in the bakery preparation and gives it a soft and spongy texture which is fixed when baked.

In beverages, the yeast metabolizes sugars in the brew wort to produce both ethanol and carbon dioxide. This is what gives beer and champagne both its kick (alcohol) and frothy/bubbly nature (gas).

In ginger beer, the ability of yeast to make gas is what is captured rather than its alcohol-making quality. Although called a beer, if properly made, ginger beer is not noticeably alcoholic (less than the 3 - 5% of most beers). My guess is that ginger beer has the latter noun because it froths when poured, just like a beer i.e. it looks like a beer.

This is how I made a batch of ginger beer.
 

General precautions
  • You are making a food product.
    Exercise maximum hygiene/sanitation in all your procedures.

  • There is the possibility that the bottles used for ginger beer production may explode under excess stress created by the carbon dioxide released during fermentation. Choose stout bottles.

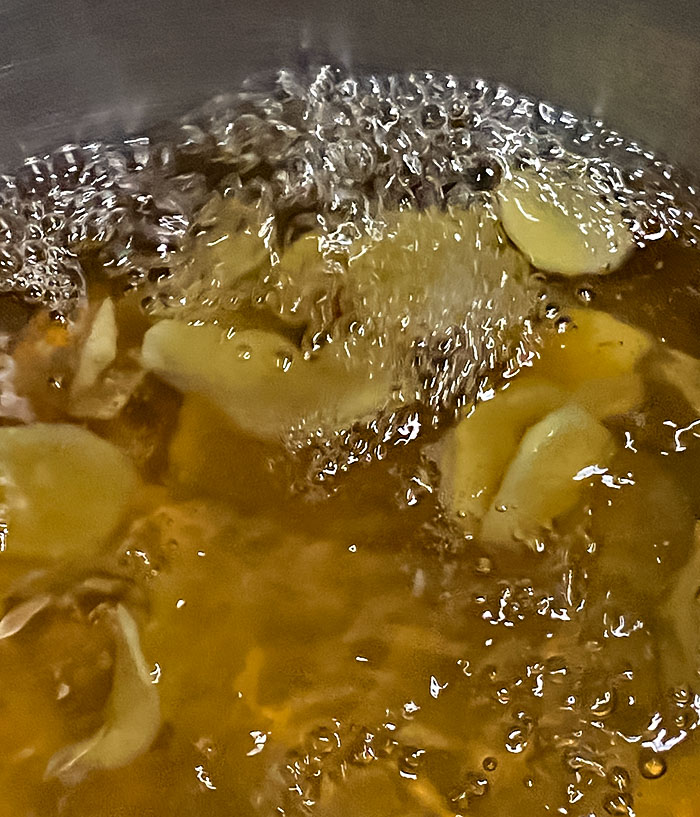
Prepare the ginger/sugar substrate

  • Skin 100 g of fresh ginger and slice very thinly.

  • Add the sliced ginger to 2 litres of water.

  • Bring the mix to the boil in a saucepan with a lid and keep it there for ten minutes to extract ginger flavour.

  • Add 280 g of your favourite sugar.
    I used 140 g of white sugar and 140 g of brown sugar.
    Brown sugar has the advantage of containing more micronutrients for the yeast during fermentation than white sugar.

  • Continue to boil for another 15 minutes to ensure that the mix is reasonably free from microbes which might compete with the yeast for the sugar.


Ginger slices being boiled with white and brown sugar
 

  • While the mix is still hot, withdraw
    One aliquot of 10 millilitres into a hot water washed cup, and
    Another aliquot of 190 millilitres into another hot water washed cup.
    Cover both cups with a lid (you can use aluminium foil).
    Close the lid of the saucepan containing the rest of the ginger/sugar mix tightly and set aside in a cool place (refrigerator is good) until the yeast inoculum is ready to be added.

  • Let the ginger/sugar mix in the cups cool down to room temperature.
     

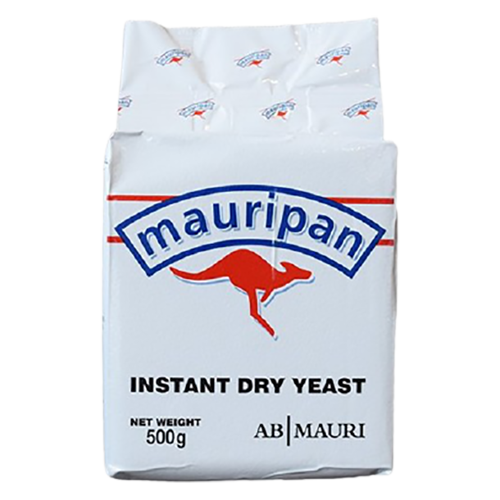
Prepare the yeast inoculum

  • To the cup with 10 millilitres of ginger/sugar, add a few grams of
    "Mauripan" instant dry yeast.
    Note that Mauripan is a product selected for baking, but this yeast strain will make brews just as well.

  • Let the yeast activate over some 6 hours.
  • Pour the contents of the first cup (10 millilitres) into the second cup and let it sit for some 6  - 12 hours.
  • When you have enough live yeast in the cup it should have a yeasty (bakery) smell and you may see bubbling.
    This is the yeast inoculum which you have created by building up yeast cell numbers from a dry, inert state to a culture which is active.
  • Note that if you have followed all the previous steps and an active yeast culture does not result, then the batch of instant dry yeast has probably expired and no longer capable of giving rise to live yeast cells.

Pitching the ginger brew
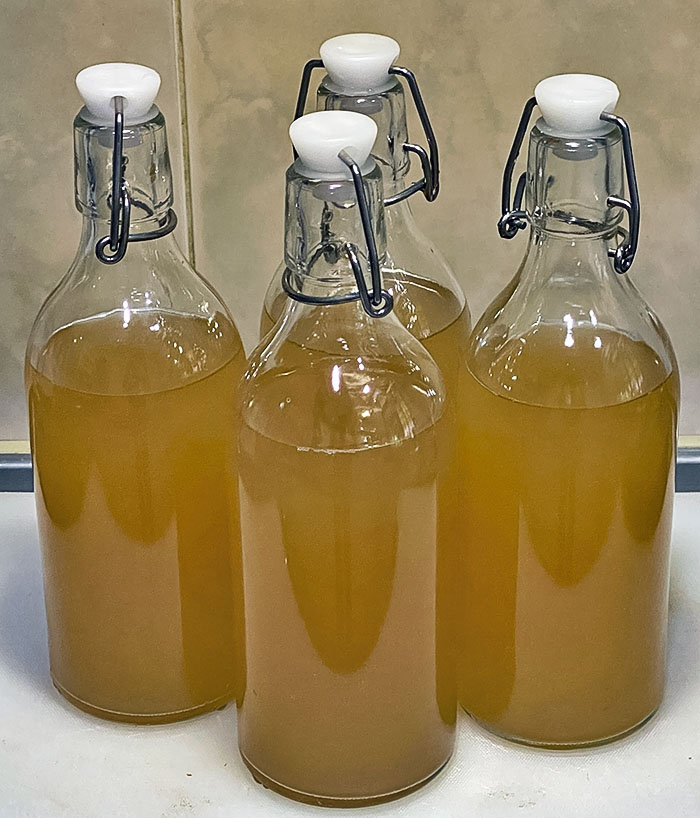
  • Pitch the entire 20 millilitres of yeast inoculum into the main ginger/sugar mix which you have set aside.
    You should now have about 2 litres of starting brew in which fermentation of the sugars will start immediately.
  • Decant your pitched brew mix into bottles with tight sealing caps.
    I used 500 mL IKEA "Korken" bottles.


The ginger brew just after decanting into bottles
 

Fermentation

  • Set aside in a warm place for about three days (or more) to let the bottles brew.
    You should test the bottles each day to check for the amount of carbonation which has developed.
    You may stop the fermentation at any time which you feel that enough gas has built up.
    Stop the fermentation by placing the bottles in a refrigerator. The cold will hibernate the yeasts' metabolism.


Enjoy your bubbly spicy drink!


www.clemkuek.com


Created by Clem Kuek
19 Jan 2022